Beginning Vapor Devices
As a complete newbie, as in never vaped before, you’ll want something that closely mimics the act of smoking to maintain that familiar hand-to-mouth habit while reducing the number of cigarettes you smoke per day. Not everyone quits the day they pick up a vape pen, some do and that’s fantastic, but don’t beat yourself up if you still smoke. Don’t count the cigarettes you smoke, count all the ones you don’t.
Some things that are universal with most electronic vapor products is the 5 clicks on/5 clicks off feature. To turn on or activate the device click the power button 5 times, then to turn off click it 5 times again. For safety always turn the device off before putting in your pocket or purse. This applies to all vapor products from minis to mods.
Cig-a-likes ( Mini e-cigs)
So buy yourself a cig-a-like device or vape pen, whichever you think will work for you. Cig-a-likes such as the Blu, Green Smoke, South Beach Smoke, and V2 are pretty economical, closely resemble cigarettes, and are easy to use. Vape pens like the Halo Triton 2, Joytech eGo AIO and Smok Stick AIO have a bit more battery power and a larger e-liquid capacity for users who vape more frequently and need longer battery life.
Instructions for use: to use a mini e-cig remove the battery ( the long tubular piece) from the packaging. Screw the cartomizer (the colored piece with the connection on the bottom) onto the battery. For a manual battery, hold the button down while you inhale and let go when you exhale. Draw the vapor into your mouth slowly and then inhale into the lungs. If there is no power button then you have an automatic battery and you activate it by drawing on it. The draw is similar to a cigarette but is a little different and may take some getting used to before you get it right.
Charging your device: to charge your mini e-cig unscrew the cartomizer and attach the battery section to the charging piece and plug into a wall socket or USB charging port on your laptop. The battery indicator light will turn from red to green when it is fully charged. It should take less than 2 hours to charge the device but please be careful not to let it overcharge as this can damage the battery and the device. Never leave it charging overnight, an hour or so is all that is needed. You will know when the device needs charging because the vapor production will drop and you’ll find yourself needing to draw on it more to get the same amount of vapor or the battery may just stop working altogether. A recommendation for not having to wait for batteries to charge is to buy an extra battery or purchase a kit that comes with two mini e-cigs.
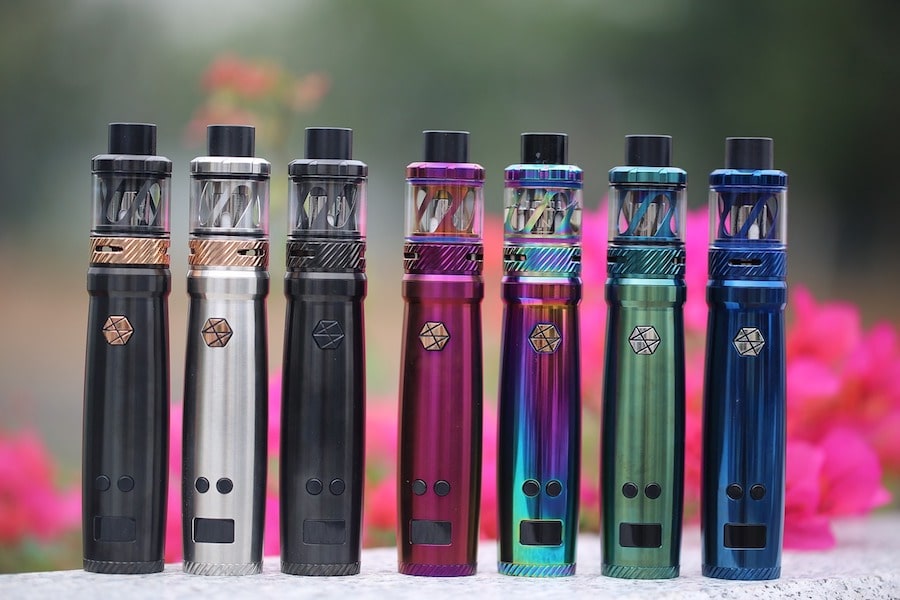
Vape Pens
Vape pens are the next step up in vapor equipment. They have a little more power, longer battery life and more juice capacity for people who don’t want to charge and fill frequently throughout the day. The battery life on a vape pen is about 4-5 hours for a heavy vaper and longer for a less frequent vaper. The tank capacity is roughly between 2 and 5 mils of e-liquid, depending on the device specifications. These are very easy to just fill and go.
Instructions for use: Depending on the device, attach the tank section to the battery section (if in two pieces). Unscrew the top of the tank and fill with e-liquid using one of the two open holes (avoid the center hole, this is the breather or air hole) on sides. They are often kidney-shaped holes so you’ll know it when you see it. Fill to the top leaving a little room to avoid spillover. Hold down the power button while you inhale and release it on exhale.
Charging your device: to charge your vape pen plug the small end of your USB charging cable into the port on the front or side of the device and the other end into the port on your computer or laptop. Can also be charged using a wall adapter if the piece is included or purchased separately.
Advanced Vaping Devices
Vape Mods
These devices carry more power and more battery life but require more knowledge and experience to use them. If you’re a new vaper you shouldn’t buy one of these to start out because you need to have knowledge of Ohm’s Law and what type of load your battery can handle when it comes to using sub-ohm coils in tanks or RDAs. Now if you have been vaping a little while and feel you’re ready to move up to a mod, then this section is for you.
Internal vs External Batteries
Some, not all, mods have external batteries that are taken out and charged in a battery charger designed for vaping batteries. Most often, mods in the 100W – 200W range have external batteries and mods in the 30W – 80W range may have internal batteries. Internal batteries are charged in the same manner as vape pens, plug into a USB port on your laptop or plug in using a wall adapter with USB cable. While some mods with external batteries may have a charging port on the front of the device this is not for charging but for firmware upgrades. You can use it in a pinch to charge your device but it’s not good to do that all the time. Especially devices with multiple batteries need to be charged individually because they need to maintain a consistent charge level for each battery. Unevenly charged batteries can cause your device to malfunction or damage the batteries themselves.
Instructions for use: for mechanical mods- please have knowledge of how mechanical mods work and Ohm’s law before buying one. They can be very dangerous if used incorrectly or by someone without experience. Mechanical mods have no circuitry to protect the user from mishaps (batteries put in backward, stacked, or use of hybrid top caps with tanks or RDAs with no protruding 510 pins). Protected batteries are used for these and offer some protection but these mods are for advanced users only.
Advanced Personal Vaporizers
(Regulated Mods)
Regulated mods are mods that have circuit boards and chipsets, like a computer, that will shut off the device is an error occurs. These are safe devices because they act like a circuit -breaker and protect the user by shutting down the device. It will not power back on until the problem has been corrected. The display screen on the device will indicate what the problem is: low voltage, low battery, too low resistance, and etc.
Instructions for use: As with most other vapor devices it is 5 clicks to turn on and off. Put the batteries in the device, being careful to put them as shown on the battery compartment panel, and attach the tank section or RDA to the mod using the 510 connection. Fill your tank with e-liquid and pulse the coil by pressing the power button quickly a couple of times. You should hear the coil activate and see little puffs of vapor. You can then hold the power button and take a draw using either a mouth-to-lung type draw for certain atomizers or a direct lung hit for RDAs.
Charging your batteries: to charge the batteries remove them from the device and charge in a battery charger with 2 – 4 bays like a Nitecore, Xtar, or Efest battery charger.
How to clean tanks: once a week drain the e-liquid, disassemble the tank and wash parts with hot, soapy water. Be sure to rinse very well as some plastic tanks hold the flavor and you don’t want soapy-tasting e-liquid in your tank.
